In WDesignKit, you can easily edit the information of your templates or website kits, allowing you to customize and update them according to your needs. Whether you want to modify the title, description, or other details associated with a template or website kit, the editing process is simple and straightforward.
Requirement – This feature is a part of The WDesignKit, make sure it’s installed & activated to enjoy all its powers.
You can easily edit the information of your template or website kit from the WDesignKit app.
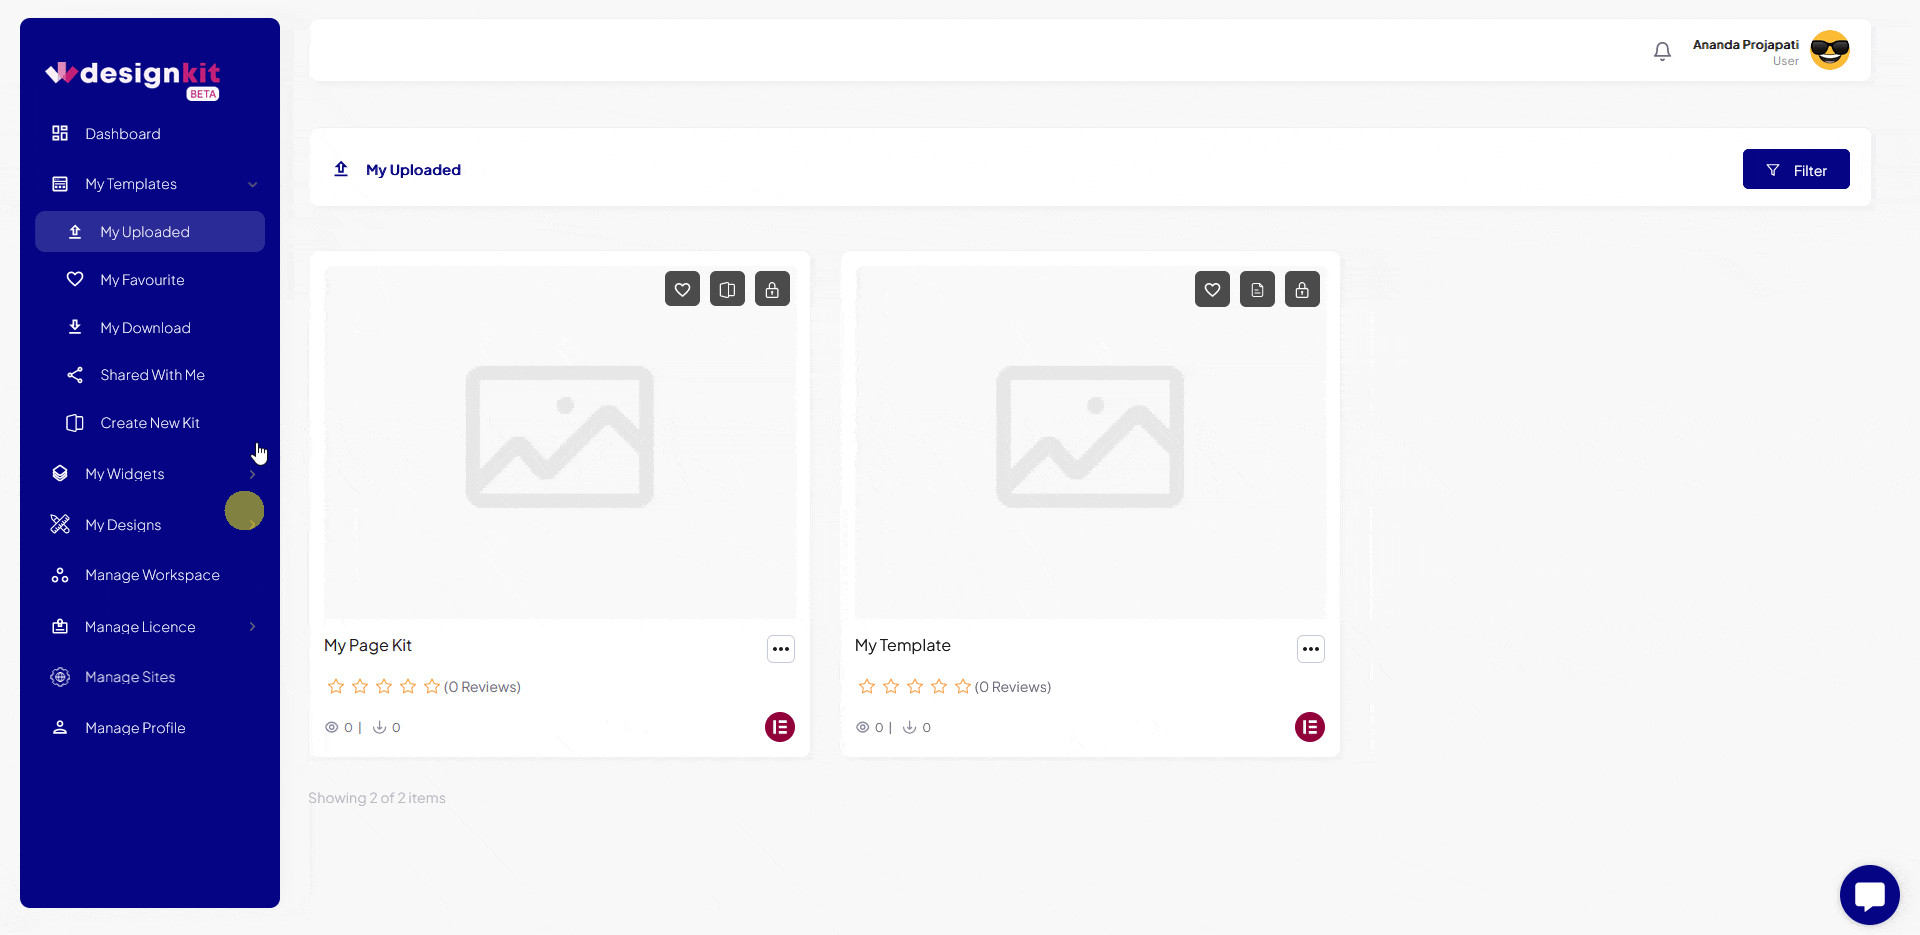
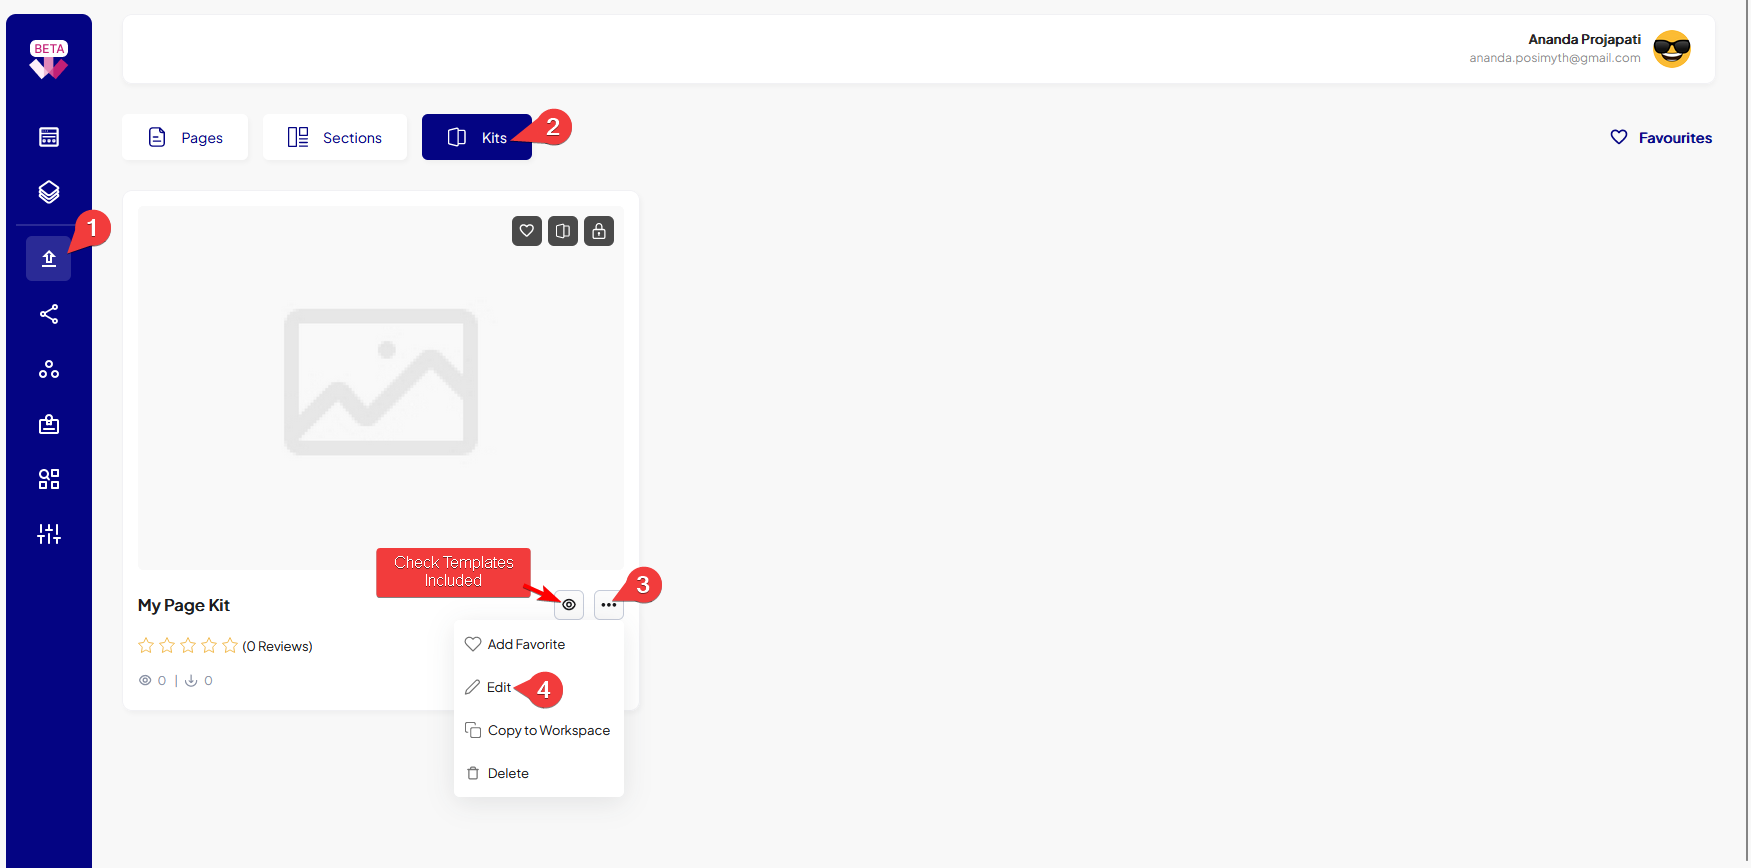
Once logged into the WDesignKit app go to My Templates > My Uploaded.
Go to the template you want to edit, click on the three dots, and then click Edit.
It will take you to the edit page, where you can edit the information.
Title – Here, you can edit the title.
Description – This is an optional field, here, you can add a description.
Short Introduction – This is an optional field, here, you can add a short introduction.
Features – This is an optional field, here, you can add features.
Live Demo URL – This is an optional field, here, you can add the live demo URL.
Elementor Version URL (Optional) – This is an optional field, here, you can add the template’s Elementor version demo URL.
Gutenberg Version URL (Optional) – This is an optional field, here, you can add the template’s Gutenberg version demo URL.
Figma Version URL (Optional) – This is an optional field, here, you can add the template’s Figma file URL.
From the Visibility dropdown, you can set the visibility of your template/pagekit. Here you’ll find two options –
Private – This will make your template/pagekit private. In this mode, only you can access your template/pagekit. You can also share your private template/pagekit privately through your workspace. Learn more.
Public – This will make your template/website kit public. In this mode, all other WDesignKit users can access your template/website kit.
Note: By default, the visibility will be set to private.
From the Date field, you can select a publish date for your template or pagekit.
Note: If no date is selected, the current date will be added.
Then from the Manage tab, you can edit the required plugins for the templates from the Required Plugins section.
Then from the Section(for pagekit only) dropdown, you can add or remove section templates from the pagekit.
In the Page(for pagekit only) dropdown, you can change your full page templates, you can add or remove them from your pagekit.
Note: Only page builder related Section and Page templates will be available. If you select Elementor as the page builder then only Elementor related templates will be visible and same for Gutenberg page builder.
From the Type(for templates only) dropdown, you can change the template type between Page Template and Section.
From the Category dropdown, you can change the categories of your template/website kit.
Similarly, you can change the tags for your template/website kit from the Tags dropdown.
From the Featured Image tab, you can change the image of your template/website kit.
Once done, click on the Save button, to update the information.
You can do the same from the WDesignKit plugin as well.
Note: Make sure to log into the WDesignKit plugin page.
From the WDesignKit plugin page, go to My Templates and then go to your desired tab.
Hover over the template you want to edit, click on the three dots, then click Edit.
It will take you to the WDesignKit app, where you can edit the information.